I want to migrate my website built in WordPress into AWS Lightsail. How can I do that easily?


Photo by Stephen Phillips - Hostreviews.co.uk on Unsplash
So, you have a beautiful website that contains all your blogs and articles that you wrote some time ago. Now you want to publish and host it. Since your website is not receiving any huge traffic, for now, you just want to deploy your website on the internet, and also you don't want to have any headaches managing different storage, computing, and networking issues. Well, congratulations. You have got a perfect solution for that, AWS Lightsail.
AWS Lightsail is a service that offers easy-to-use virtual private server (VPS) instances, containers, storage, databases, and more at a cost-effective monthly price. AWS Lightsail provides beautiful features like deploying simple web applications using pre-configured development stacks like Nginx, MEAN, and many others to get online quickly and easily, creating custom websites in just a few clicks, with preconfigured applications like WordPress, Magento, and so on.
We have had enough talking. Let's dive into practical implementation.
Steps to migrate WordPress website in AWS Lightsail
Create an Instance
- This is the interface of Amazon LIghtsail. First, you need to create an instance on the basis of your choice.

First, choose the instance location where you want to define the region for your instance.
Pick your instance image. I would recommend using Linux/ubuntu image.
Select a blueprint. Since we are going to migrate the WordPress site, we will choose WordPress in this case.

You can see the enable automatic snapshots. You can choose this option if you want to create a snapshot of an image in a frequent duration. It will create a copy of the instance image and save it. Later at any point in time, you can create snapshots manually too.
Next is to choose your instance plan. Since you are just beginning to create a blog site, you can choose the first option. You can upgrade to other options as per your traffic on the website and other features.
At last, give the name of your instance to identify it. It must be unique.
Create static IP
The IP address will be assigned to your instance; the public IP and the private IP. The public IP will change when you reboot the instance. It is not a good idea to use this dynamic IP system. So you must change the IP address to static IP.
Go to the networking part after the instance has been created. You will see the option of choosing to create static IP. After choosing to create static IP you might see this type of interface.
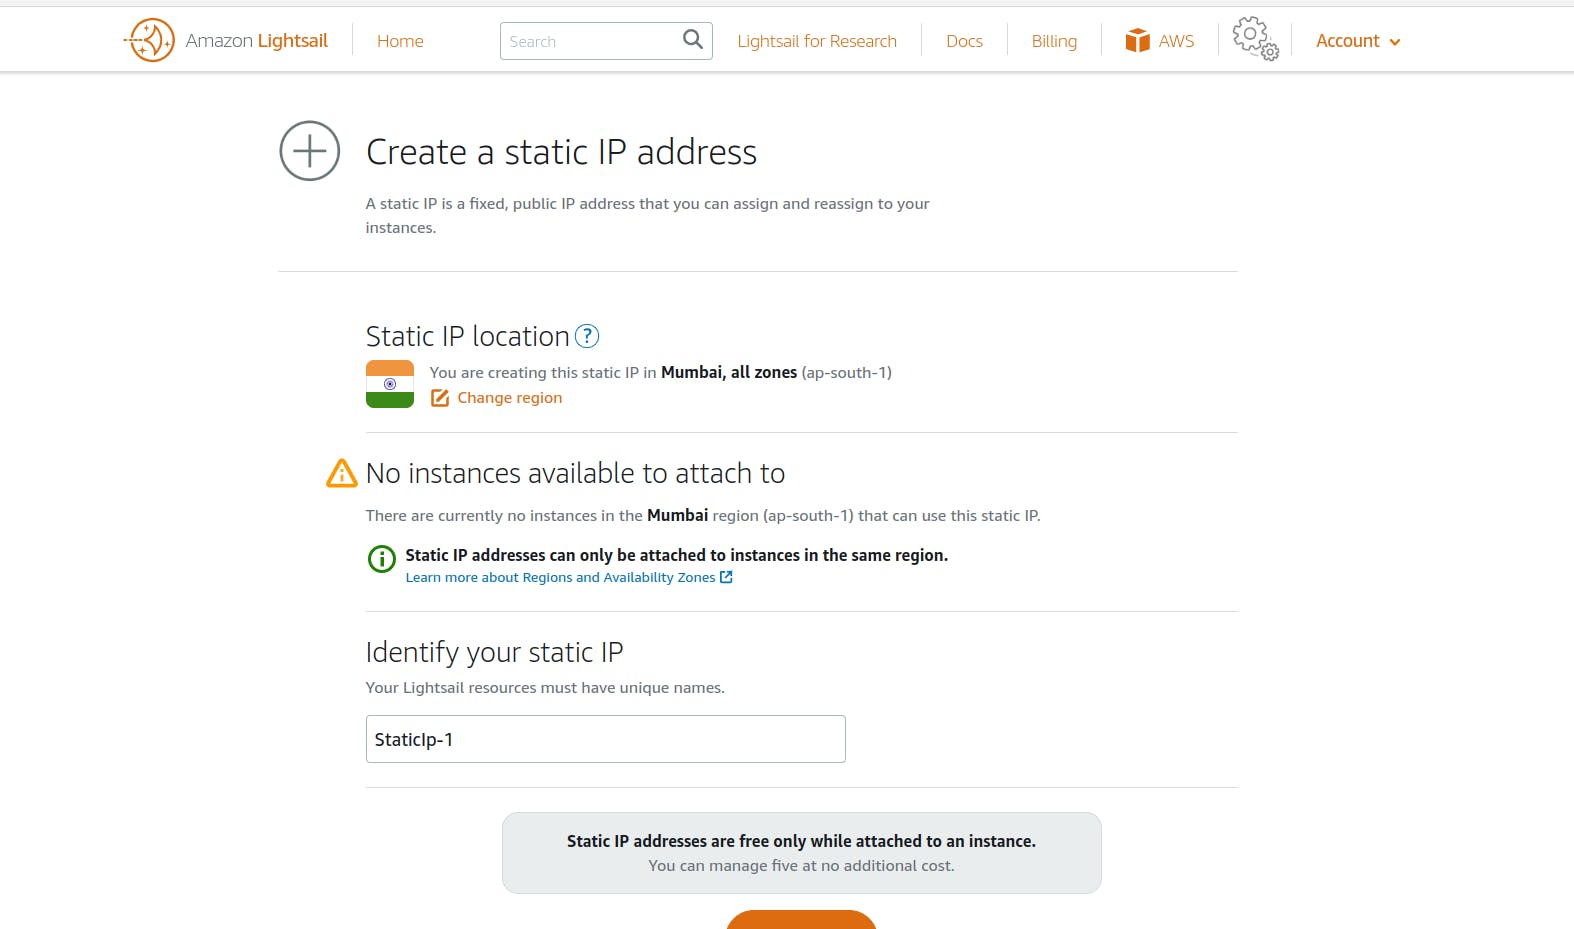
Choose the static IP location. It is good practice to keep the IP of the same location where your instance region is located. You will then find the option to attach an instance if you have an instance defined in that region. You must then provide a unique name to identify your static IP.
Now copy and paste your static IP in the URL section. You will see something like this displayed on your front page.

Congratulations, your simple WordPress website is set up.
Visit the staticIP/admin page to access WordPress admin. But first, make sure you have a password to access the admin page. Go to the terminal of your instance in the Lightsail. You will see three dotted vertical lines in the created instance. Click on it and select connect option. Type command $cat bitname_application_password. You will get the password to connect to the admin page of WordPress.
Add wpvivid plugin
Now go to the plugin option and search for add new. Search for wpvivid plugin and install the one that occurs at the beginning. It helps to create backup and migrate for free from source to destination. Add a plugin in both the source WordPress admin and destination WordPress admin.
After installing the plugin, activate it. Open the plugin and you will see this interface.

Go to the key tab. There will find an option to generate keys and set up key expiration time. Choose any hour in expiration time for security. You need to perform migration within this time. Click generate key after that to generate a random key.
While on the source admin page, click on the auto-migration tab and paste the key and save. You want to transfer the database and files so choose that option ( it will be selected by default).
Press clone then transfer. This will create a zip file for all the database files and other resources of the website that can be migrated later.
The last step is to again go to the destination wpvivid plugin and click on the backup and restore tab. Before migration from source to destination, you need to understand that any data or files in the target will be overwritten. You won't be able to recover it back.
Click on the scan uploaded backup or receive backup.

Finally, you will see the file to upload or restore. Click on the restore option and then the file will begin to restore.
Congratulations. You have successfully migrated the WordPress site into AWS Lightsail.